A vinyl transfer can take longer than the album itself. You clean the record, connect the turntable, record both sides, split the tracks, name the files, then notice a clipped drum hit or a cable hum ten minutes into side A.
The painful part is not starting again. It is knowing that a two-minute test would have caught the problem.
A good home digitisation does not need to imitate a mastering studio. It needs a quiet signal path, sensible recording settings, one clean uninterrupted capture, and files you can still identify later. Here is a workflow that gets those things right.
Decide what the file is for
There are two useful outputs, and they should not be the same file.[2]
The first is a master capture. Keep it uncompressed and leave it close to what came from the turntable.[1][3] Do not normalise it, remove every click, or convert it to MP3. This is the file you return to when you want a new edit.
The second is an access copy. It can have track splits, fades, tags, artwork you have permission to use, and a smaller format for a phone or music server.[2]
The US National Archives makes the same distinction. Its preservation copy is the high-quality source kept for the long term, while an access copy is made for convenient playback.[2]
That split prevents a common mistake: spending an evening repairing clicks, then discovering that the only saved file is a compressed export with every edit baked in.
Build the correct signal path
Most turntables do not send a line-level signal directly. The cartridge output normally needs a phono preamp, which adds gain and applies the correct playback equalisation.[4]
Your path will usually be one of these:
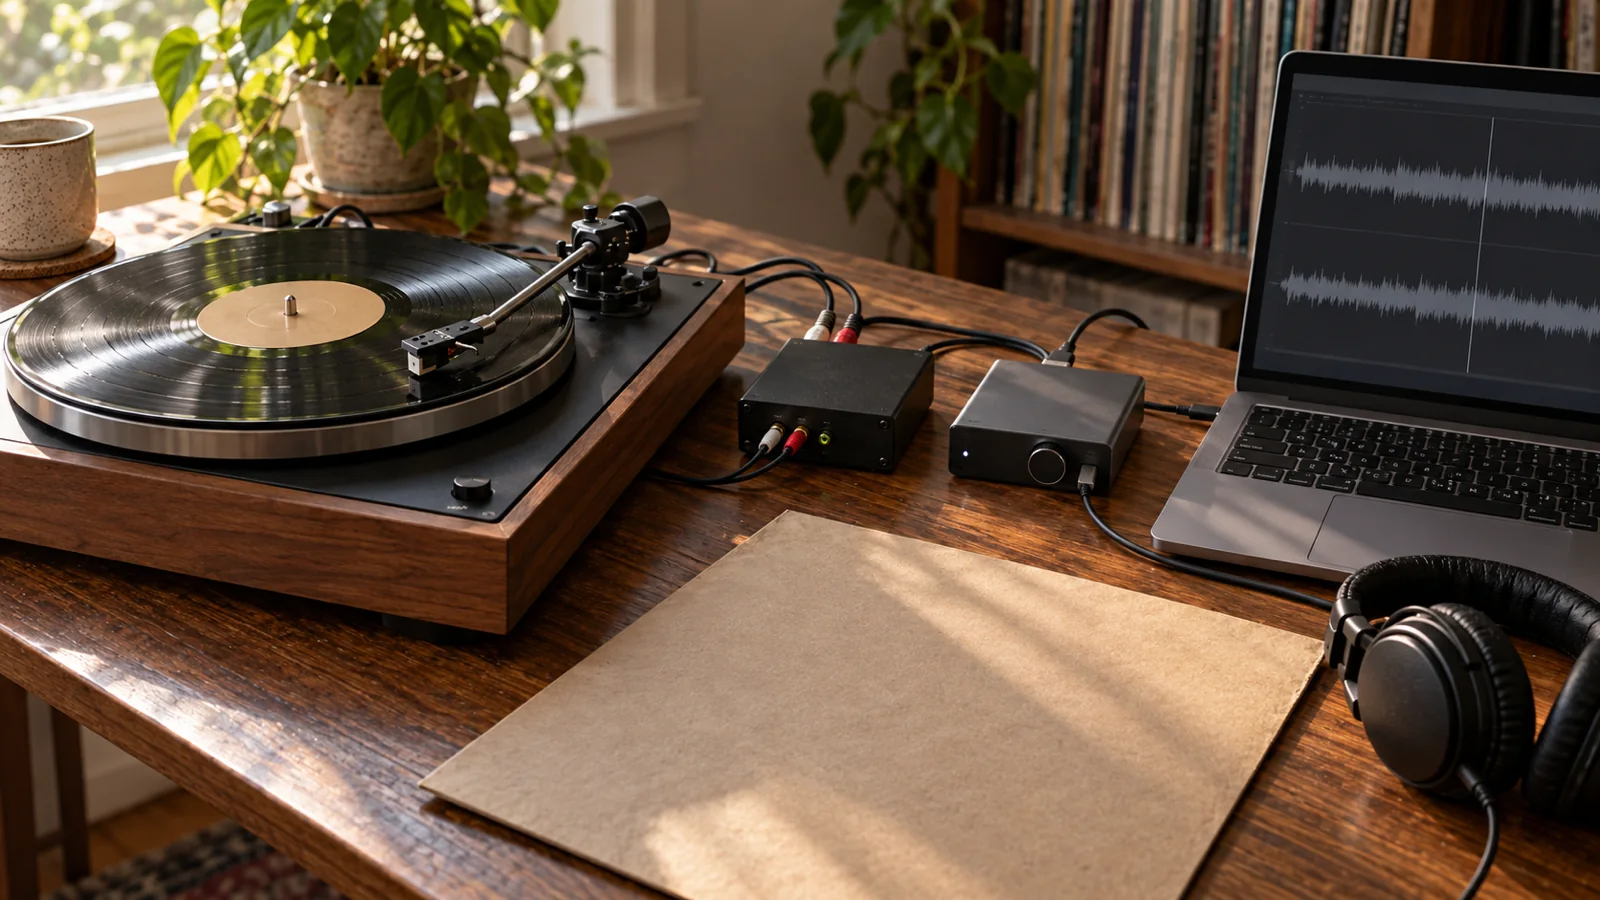
- turntable to external phono preamp to USB audio interface to computer
- turntable to amplifier or receiver with a phono input, then a fixed line or record output to the interface
- turntable with a built-in phono preamp to the interface
- turntable with its own USB output to the computer
Do not connect a raw phono output to a normal computer input and try to fix the quiet, thin recording later. Do not run a line-level output through a second phono stage either. One phono stage belongs in the path.[4]
Use a proper audio interface or the turntable’s supported USB connection rather than a laptop microphone socket. IASA calls the analogue-to-digital converter the most critical part of the digital path and warns that basic computer sound hardware can add noise or fall short of preservation requirements.[1]
Keep the phono leads away from power adapters and mains cables. Record thirty seconds with the platter stopped. If that test already contains a strong hum or buzz, fix the signal path before the stylus touches the record.
Prepare the record and turntable first
The transfer will faithfully capture dirt, mistracking, speed errors, and a worn stylus. Software cannot turn a bad playback into an honest archive.[4]
Before recording:
- identify the exact speed and use the correct stylus for the format[4]
- check that tracking force and anti-skate match the cartridge instructions[4]
- inspect the stylus under good light and clean it with a method approved for that stylus[4]
- clean the record with a record-safe method and let it dry fully[4]
- make sure the turntable is level and isolated from footfall and speaker vibration
- listen to a difficult passage before committing to the whole side[4]
A Library of Congress and CLIR roundtable on analogue transfers put disc cleaning, correct stylus choice, suitable tracking force, and correct playback speed before digital capture.[4]
Do not use the stylus as a groove cleaner. It can damage vinyl.[4] If a lump of debris appears during playback, stop, lift the arm, and deal with it safely.
Cracked, delaminating, badly warped, unique, or historically important discs are not good practice material. The National Archives notes that fragile or deteriorated recordings may require specialist equipment and warns against playing them on questionable machinery.[2]
Record to WAV at 24-bit
For a practical home master, choose uncompressed PCM WAV at 24-bit.[1][3]
Use 48 kHz if storage is tight or 96 kHz if your interface, computer, and storage handle it reliably.[1][3]
IASA recommends at least 48 kHz and 24-bit for analogue material, with 96 kHz as a higher-rate option. It also recommends WAVE or Broadcast WAVE for archival audio and rejects lossy formats as preservation targets.[1]
The National Archives uses uncompressed 96 kHz, 24-bit Broadcast WAV for its maximum-capture analogue audio masters.[3] That is an institutional specification, not a command to replace your interface. A clean 24-bit capture through equipment you understand is more useful than a nominally impressive file made through a noisy or misconfigured path.
Avoid recording the master directly to MP3, AAC, or another lossy format.[1] You can make those later from the WAV. You cannot recover the discarded information by converting an MP3 back to WAV.[1]
Keep the channel layout faithful to the record. Capture a stereo LP in stereo.[3] If you are transferring a true mono record through a stereo cartridge, record both channels. You can compare them later rather than making an irreversible channel decision during playback.
Set levels with the loudest passage
Digital clipping cannot be repaired cleanly. Once a peak hits the ceiling and flattens, turning the file down only makes the clipped waveform quieter.[1][4]
Find a loud section near the end of a side or wherever the arrangement is densest. Record a test and watch the peak meter.[4] Leave clear headroom below 0 dBFS. With 24-bit recording, there is no reason to chase the top of the meter.[1][4]
Do not chase a single peak number. Leave enough headroom for an unexpectedly loud transient, while keeping the music well above the system noise.[1][4]
Check both channels. A large imbalance may come from the record, but it can also reveal a loose cartridge lead, dirty connector, cable fault, or gain control set differently on the interface.
Then listen to the test on headphones. Meters will show clipping. They will not tell you that one RCA plug is crackling when the cable moves.
Capture one whole side without intervention
Start recording before lowering the stylus. Leave a few seconds of room and turntable noise at the beginning, and let the runout continue briefly at the end.
Do not change gain between tracks. Do not stop for every small click. Do not run live noise reduction, compression, limiting, or automatic normalisation while the record plays.[4]
The master should document one stable playback.[4] If you make a mistake, note the time and decide whether to repeat the side. Ten separate starts create ten chances for a changed level, clipped opening, or missing first note.
Monitor the recording as it happens. You do not need to stare at the waveform for twenty minutes, but you should catch a skip, cable fault, sudden overload, or computer interruption before the side ends. CLIR’s preservation roundtable stressed the value of critical listening and warned that automated transfers still need quality control.[4]
Keep speakers off or very low during capture. Headphones prevent acoustic feedback from travelling through the shelf and cartridge.
Save the untouched master before editing
As soon as the side finishes, save it under a name that will still make sense in a year.
A simple pattern works:[2][3]
Artist - Album - ReleaseID - Side A - 96k24.wav
Use a catalog number or your own collection identifier if the release has no database ID. Avoid a filename such as vinyl-final-new-2.wav.
Make a copy of the raw capture before opening the editing pass. Work on the copy, not the only master.[2][3]
For the edited version, you may want to:
- trim the lead-in and runout while leaving a short natural margin
- split tracks at clear boundaries
- add short fades only where a cut would otherwise click
- correct a confirmed channel or phase problem
- remove isolated severe clicks by hand
- apply gentle noise treatment only after comparing it with the untouched file
Be conservative. Constant light surface noise belongs to the copy you played. Aggressive denoising can take cymbal decay, room sound, and vocal texture with it.
Keep enough information to repeat the transfer
Write down:
- the exact pressing or release identifier[2][3]
- capture date[2]
- turntable, cartridge, stylus, and phono stage[2]
- audio interface[2]
- sample rate and bit depth[2][3]
- cleaning performed before capture[2][4]
- any skip, warp, channel issue, or manual repair
- the software and important settings used for the edited copy[2]
The National Archives recommends descriptive and technical metadata, clear file naming, checksums, and a second copy of delivered files.[2] You do not need an archive database to follow that advice. A plain text note beside the audio files is enough to make the transfer intelligible.
If you hear a problem months later, the note tells you whether to revisit the edit or replay the record with a different setup.
Back up the audio files themselves
An audio editor project is not a backup. It may depend on cache files, a particular folder structure, or software that changes later.
Keep the master as a standard WAV file.[1][3]
Store at least two copies on separate devices, and keep one away from the computer used for recording.[2] Check that both copies open before clearing the recording session.[2]
For a small collection, this can be simple:
- master WAV on your main drive[1][3]
- duplicate on an external drive[2]
- optional off-site or cloud copy[2]
- smaller tagged access file for everyday listening
A 96 kHz, 24-bit stereo WAV takes roughly 2 GB per hour under the National Archives specification.[3] Plan storage before a long batch, not when a side stops because the disk is full.
Know when home capture is the wrong choice
A normal commercial LP in stable condition is a reasonable home project. Stop and look for an audio preservation specialist when the disc is cracked, flaking, mouldy, severely warped, unusually valuable, unique, or made from a material you cannot identify.[2][4]
Also outsource the job when you cannot play the format correctly.[2][4] A rare 78, lacquer disc, or unusual groove is not improved by forcing it through the nearest stylus.[4]
Professional transfer is not merely a more expensive version of pressing Record. It may involve format identification, several styli, calibrated playback, specialist cleaning, and documented quality control.[2][4]
The home transfer checklist
Before the needle drops:
- one phono stage is in the signal path[4]
- cables are quiet and routed away from power
- the record and stylus are clean[4]
- speed, tracking force, and format are confirmed[4]
- the recorder is set to 24-bit WAV at 48 or 96 kHz[1][3]
- the loudest passage has been tested with headroom[1][4]
- both channels sound correct on headphones
- enough disk space is available
After each side:
- save the uninterrupted master[2][3]
- duplicate it before editing[2]
- name it with the release and side[2][3]
- listen to the beginning, loudest section, and end
- record the equipment and any faults[2][3]
- copy the finished master to a second device[2]
The capture itself is the easy part. The value comes from doing the boring checks before it, then keeping an untouched file and enough notes to understand what you made.
Sources
[1] IASA TC-04: Key Digital Principles [2] National Archives: How to Play Back and Digitize Audio [3] National Archives: Audio Maximum Capture [4] CLIR: Capturing Analog Sound for Digital Preservation