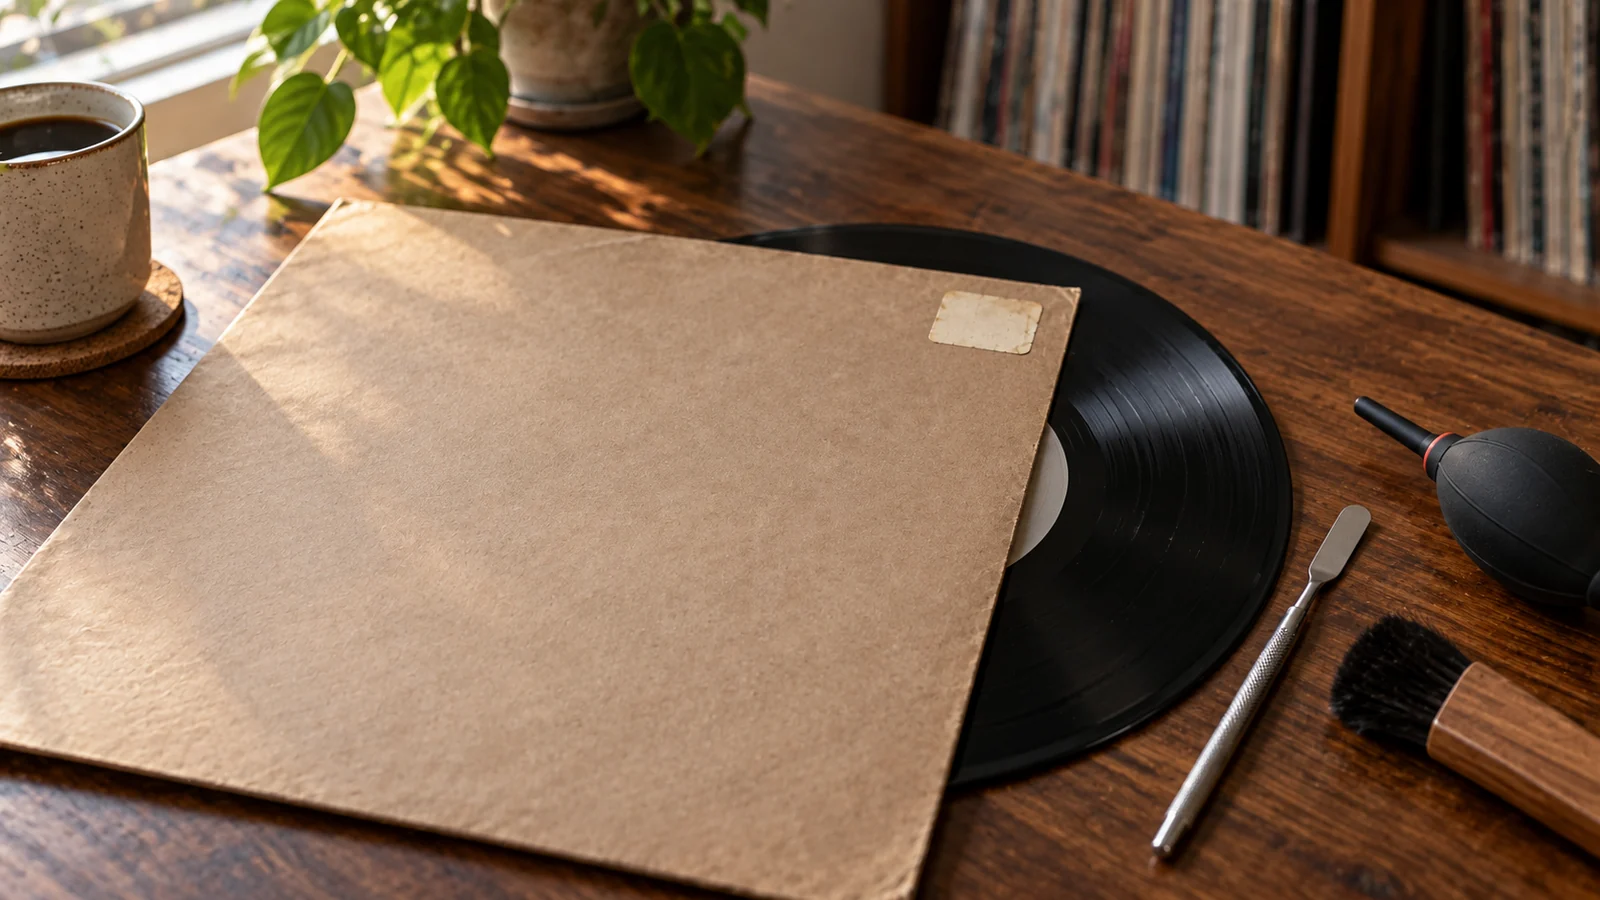
An old price sticker can be ugly. A torn sleeve where the sticker used to be is worse.
The tempting fix is heat, lighter fluid, cooking oil, or whatever worked on a glass jar. A record jacket is printed paperboard, often with a coating, laminate, ink, wear, and fifty years of unknown storage behind it. The adhesive may have changed too. A method that releases one sticker cleanly can stain another sleeve or pull the printed surface away.
Start with a less satisfying question. Does this sticker need to come off at all?
Decide whether the sticker belongs there
A shop sticker can be part of a record’s history. It may identify the retailer, country, original price, sale campaign, or period when the copy changed hands. On a rare pressing, that evidence can be more interesting than a spotless corner.
Leave the sticker in place when:
- it is an original promotional, import, price-code, or retailer sticker that helps identify the edition
- the sleeve is rare, signed, laminated, textured, embossed, foil-blocked, or otherwise difficult to replace
- the sticker crosses printed detail you cannot afford to lose
- the paper around it is brittle, torn, stained, or already lifting
- the adhesive has soaked through or formed a dark halo
- you are unsure whether the sticker is later shop clutter or part of the release
Photograph the front, back, sticker, and any writing before doing anything. If you later sell the record, the photograph shows what changed.
Read the sleeve before touching the sticker
Put the record and every insert somewhere safe. Work on the empty jacket under bright, raking light.
Look closely at four things:
- The paper surface. Matte, uncoated board may release fibres easily. Glossy print can have a thin coating that lifts as a skin.
- The sticker carrier. Fresh paper, brittle paper, plastic film, and foil do not peel in the same way.
- The adhesive edge. A clean lifting corner is a better sign than a hard, flat edge with brown residue around it.
- Previous damage. Tears, water marks, mould, delamination, and old tape make this a conservation problem rather than a quick clean-up.
Paper conservators examine the paper, media, adhesive, and sensitivity to heat or solvents before choosing a treatment. They do not assume one removal method fits every object.[9]
That is the useful collector lesson. Test the actual sleeve in front of you, not the trick that worked on somebody else’s copy.
Know the safe stopping point
The Library of Congress warns that pressure-sensitive adhesive can become extremely difficult to remove and recommends a paper conservator when damage is valuable, complicated, or not safe to risk.[5] The Canadian Conservation Institute gives the same basic limit. Adhered material and local staining need specialist treatment when removal could damage the paper object.[7]
For a valuable sleeve, the sensible home procedure is short:
- photograph it
- isolate it in a suitable outer sleeve
- leave the sticker alone
- ask a paper conservator for advice
This is not cowardice. Removal changes an original object and cannot always be reversed.
Try only a dry mechanical test on an ordinary sleeve
If the jacket is common, sturdy, inexpensive, and already has a naturally lifting sticker corner, you can make one cautious test.
Wash and dry your hands. Set the empty sleeve flat on a clean, hard surface. Support the paper beside the sticker with one hand. With the other, use a smooth microspatula or clean blunt plastic tool to see whether the loose corner moves without resistance.
Keep the sticker low and almost parallel to the sleeve as it comes back. Do not pull it upward. Move a millimetre or two, then inspect the surface under the light.
Stop immediately if:
- paper fibres rise with the adhesive
- ink or coating appears on the back of the sticker
- the sleeve surface turns lighter or glossier
- a tear starts
- the adhesive stretches, smears, or stays behind
- the sticker becomes harder to move
The National Park Service advises leaving adhesives and tightly adhered fasteners in place for a paper conservator. Its guidance is blunt because even careful mechanical work can abrade or crack paper.[6]
A successful first millimetre does not guarantee a successful last centimetre. Sticker adhesion often varies across one small label.
Skip the hairdryer and household solvents
Controlled heat can soften some pressure-sensitive adhesives. The word “controlled” matters. In a Smithsonian treatment, conservators used a precision hot-air tool, tested the object, monitored it constantly, and combined heat with low mechanical pressure.[8]
A hairdryer is not the same setup. It heats a broad area, can soften laminate, move adhesive deeper into paper, distort the jacket, and gives poor control at the sticker edge. An iron or heat gun raises the risk further.
Do not put these on a record sleeve:
- lighter fluid or petrol-based cleaner
- alcohol, acetone, or nail-polish remover
- citrus cleaner
- cooking oil or furniture polish
- steam or a wet cloth
- adhesive remover sold for glass, metal, or plastic
- fresh tape pressed over the old sticker
Professional adhesive removal may use heat, moisture, poultices, or organic solvents, but only after testing the paper, ink, coating, and adhesive. NEDCC notes that pressure-sensitive tape often needs heat or solvents and that treatment can create tidelines, abrasion, or changes to the media.[9] Those are reasons to avoid improvisation, not a shopping list for home treatment.
Household oils are especially poor bargains. Even if the sticker releases, oil can soak into uncoated board and leave a translucent stain that is harder to hide than the label.
Do not chase every trace of residue
Sometimes the paper carrier comes away but a thin adhesive patch remains. Stop before a decent result becomes damage.
Do not rub residue into a larger shiny area. Do not dust it with flour, talc, or baking soda. Do not put another sticker over it. If it remains tacky, keep the jacket in a clean outer sleeve and prevent the sticky area from touching another record.
Conservation guidance treats adhesive removal from the paper surface and adhesive that has migrated into the paper as separate stages. The second can require solvents and specialist control.[9] A faint mark may be the safest available outcome.
If loose dust has settled on the residue, an air blower can move particles that are not stuck. Avoid brushing across tacky adhesive. The bristles may leave fibres behind or drag the residue over the print.
Treat laminated and high-gloss sleeves as higher risk
A laminated jacket may look tougher than plain card, but the finish creates another failure line. Old laminate can shrink, crack, bubble, or separate from the printed paper below. A sticker can bond more strongly to the laminate than the laminate bonds to the sleeve.
If the sticker crosses a laminate edge or sits over an existing bubble, leave it. The cleanest sticker removal in the world is not useful if it takes a patch of laminate with it.
The same caution applies to textured paper, metallic print, spot varnish, soft-touch coatings, and sleeves with water damage. Their surfaces can react unpredictably to pressure, moisture, and heat.
Preserve the evidence if you remove it
If an ordinary sticker comes away cleanly and carries useful shop or price information, keep it with the record rather than throwing it out.
Place it on a small piece of silicone release paper or another conservation-safe support. Do not stick it to an inner sleeve, insert, or the back of the jacket. Add a short note with where it was attached and when you removed it.
The Canadian Conservation Institute warns that adhesives applied directly to objects can stain, become brittle or viscous, fail, and become difficult to remove over time.[7] Moving the sticker to a new part of the package only restarts the problem.
Use this decision checklist
Before removing a price sticker, ask:
- Could it help identify the release or its retail history?
- Is the sleeve valuable, rare, signed, or hard to replace?
- Is the paper brittle, coated, laminated, textured, stained, or torn?
- Is one corner already lifting without pulling fibres?
- Have I photographed the sticker and sleeve?
- Am I willing to stop after the first millimetre?
- Can I accept leaving residue rather than escalating to heat or solvent?
If any answer makes you hesitate, leave the sticker. Store the jacket well and revisit the decision only after getting qualified advice.
The bottom line
The best price-sticker removal is often no removal.
On a common, sturdy sleeve with a loose sticker edge, a tiny dry mechanical test may tell you whether the carrier will release cleanly. Keep the pull low, support the paper, inspect constantly, and stop at the first lifted fibre or change in the printed surface.
For rare sleeves, old laminate, staining, stubborn adhesive, or any treatment that seems to need heat or solvent, stop. A small shop sticker is honest wear. A torn patch of missing artwork is permanent.
Sources
[5] https://www.loc.gov/preservation/about/faqs/paper.html — Library of Congress: Paper FAQ
[6] https://nps.gov/articles/000/conserve-o-gram-19-5-considerations-for-the-removal-of-fasteners-from-archival-documents.htm — National Park Service: Considerations for Removal of Fasteners from Archival Documents
[7] https://www.canada.ca/en/conservation-institute/services/preventive-conservation/guidelines-collections/paper-objects.html — Canadian Conservation Institute: Caring for paper objects
[8] https://postalmuseum.si.edu/the-postmaster-general%27s-collection-case-studies-in-conservation-treatment — Smithsonian National Postal Museum: Case Studies in Conservation Treatment
[9] https://www.nedcc.org/free-resources/preservation-leaflets/7.-conservation-procedures/7.5-conservation-treatment-for-works-of-art-and-unbound-artifacts-on-paper — NEDCC: Conservation Treatment for Works of Art and Unbound Artifacts on Paper