A leaking pipe does not care how carefully you alphabetised the shelf below it. By the time you find the water, jackets may be swollen, inner sleeves may be stuck to the discs, and a whole cube of records may feel too heavy to move.
Do not start playing them to see what survived. First make the room safe, stop more water reaching the collection, and separate the plastic records from the wet paper around them. Modern vinyl is often more recoverable than its packaging, but delay gives dirt and mould more time to settle in.
This guide is for modern pressed vinyl after a clean-water leak or minor household flood. Sewage, chemical contamination, active mould, fire damage, lacquer discs, and valuable or irreplaceable recordings need professional help.
Make the room safe before the records
Do not enter standing water until the electricity, building structure, and source of the leak have been assessed. The Library of Congress puts human safety ahead of salvage and flags contaminated water, electric shock, poor lighting, and mould as hazards.[2] Wear waterproof gloves and suitable protective clothing. Stop the flow of water if you can do so safely, then move still-dry records out of danger before working on wet ones.[3]
Photograph the shelves, boxes, and visible damage before moving anything. Take a few wide shots, then closer pictures of expensive or irreplaceable records. This gives you a record for an insurance claim and helps reconstruct shelf order later.
If the water contains sewage, fuel, chemicals, or unknown flood residue, do not clean the records at the kitchen sink. Keep people away from the area and contact a disaster-recovery or conservation professional. The National Archives also advises against playing contaminated audio media and recommends isolating affected items from the rest of a collection.[1]
Triage the collection, not each album
Trying to perfect one record while fifty stay wet is the wrong trade. Work in batches and make four groups:
- dry records that only need moving
- damp jackets with dry discs
- wet discs and packaging that you can process now
- contaminated, mouldy, unfamiliar, or high-value items for professional advice
Prioritise unique and valuable items, then the wettest material you can realistically stabilise. The Library of Congress recommends sorting by vulnerability, degree of damage, value, and the resources available, rather than treating every object as you encounter it.[3]
Keep a simple list of each box or shelf as it moves. A phone photo of each batch is enough to preserve order. In an emergency, a dry collection in the wrong order is better than a perfectly alphabetised wet one.
Separate the disc from wet paper
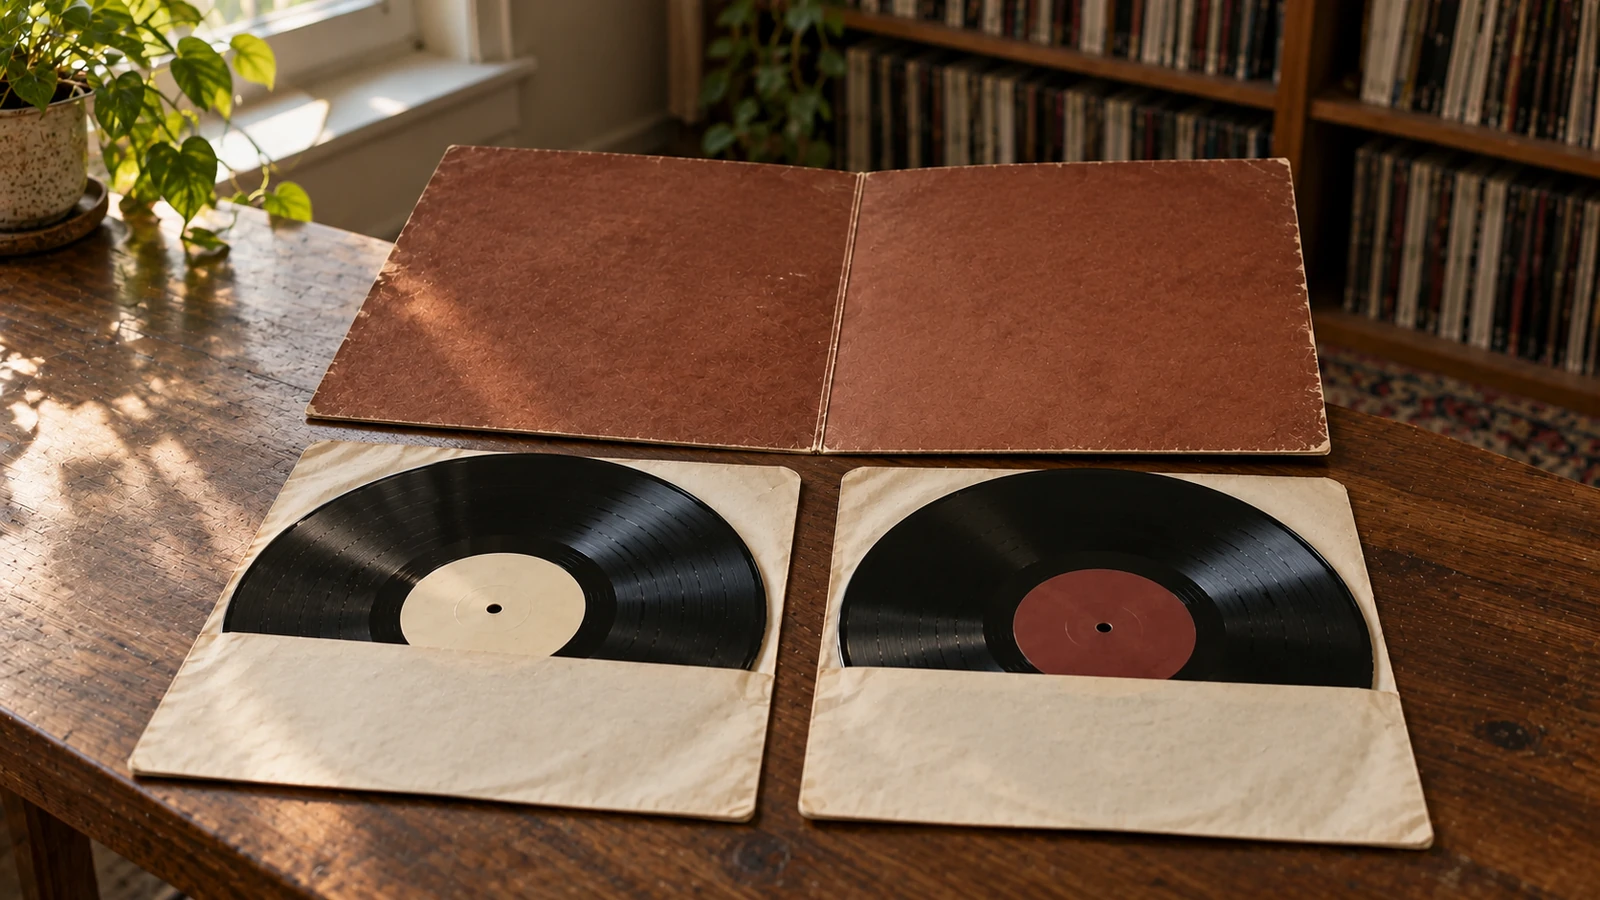
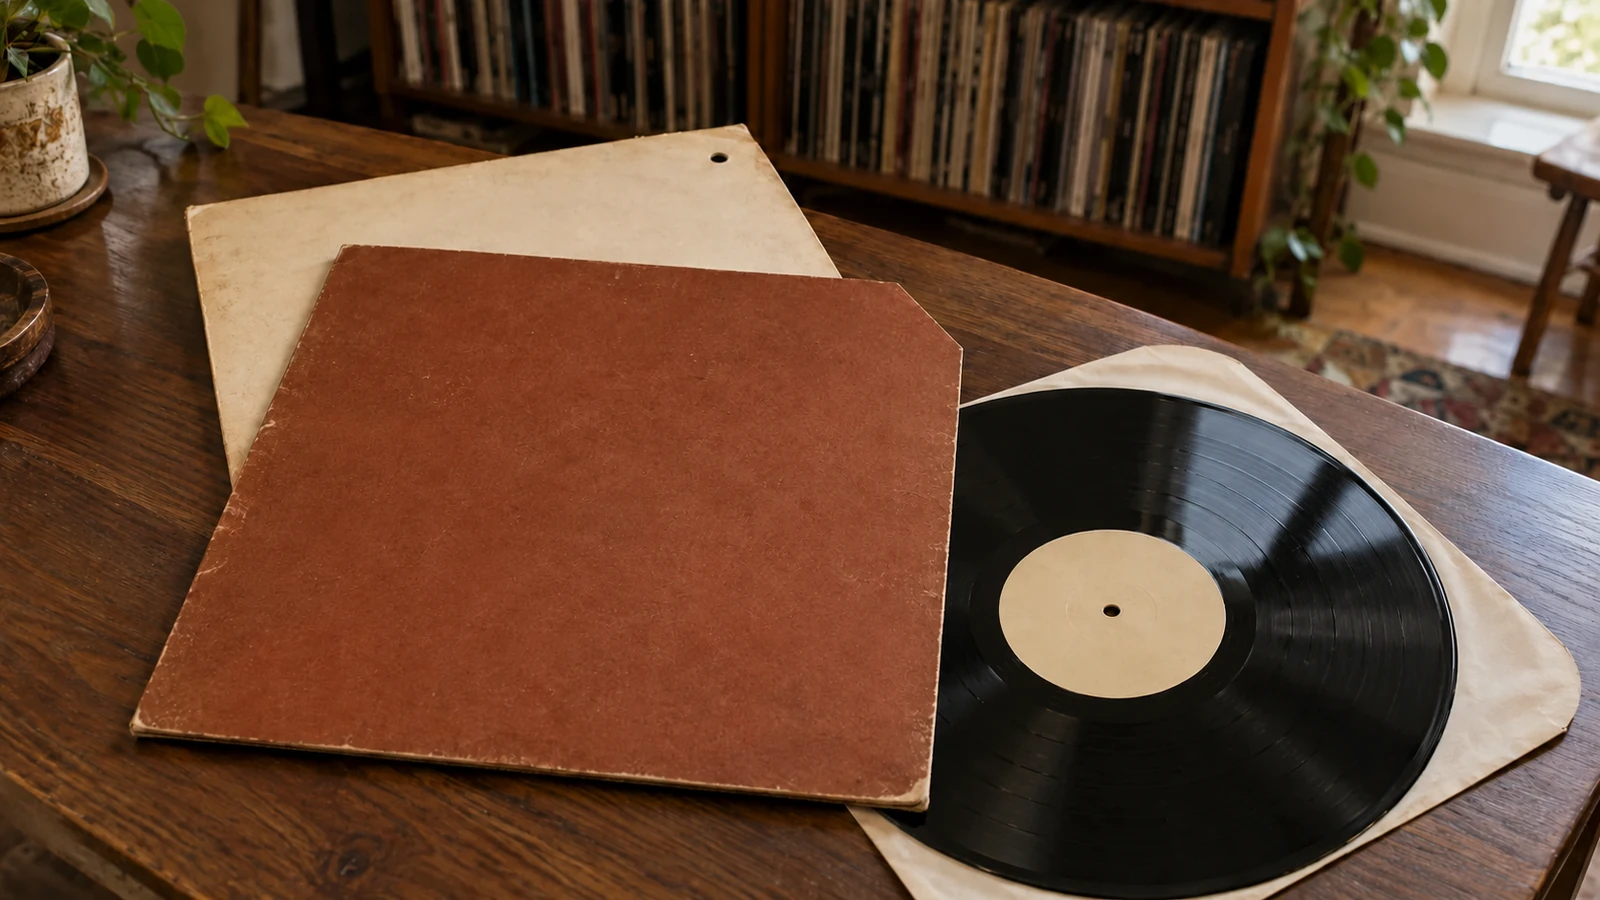
Remove each disc from its jacket and inner sleeve as soon as it can be handled safely. Support a sodden jacket from underneath instead of pulling it by one edge. If an inner sleeve clings to the disc, peel the paper away slowly. Do not drag grit across the grooves.
Water itself does not usually destroy a modern vinyl disc after brief contact. The International Association of Sound and Audiovisual Archives says many carriers can survive short water exposure if dirty surfaces are cleaned and the carrier is dried promptly. The larger problem is separating the disc from paper and card before mould takes hold.[4]
Do not assume every black disc is ordinary vinyl. Shellac, lacquer, acetate, cardboard-core, and other historical formats react differently to water and cleaning. The National Archives treats shellac and acetate discs as more water-sensitive and gives them priority in salvage.[1] Put unfamiliar 78s, one-off recordings, cracked lacquer discs, and anything with a peeling surface aside for a conservator.
Preserve loose labels, inserts, booklets, obi strips, and any identifying fragments with the correct record. Use a temporary number on a new slip of paper or on the drying support. Do not write on the disc label or the original jacket.
Clean dirty vinyl before it dries
A record touched only by clean tap water may need little more than a careful rinse. Muddy or gritty flood water is different. Once silt dries in a groove, later cleaning becomes harder and playback can grind debris into the surface.
Handle the disc by its edge and label. Rinse loose dirt with a gentle flow of clean water while supporting the disc. Avoid soaking the paper label. The National Archives recommends separating vinyl from shellac and acetate during washing, using distilled water for the final rinse, and moving a soft brush along the grooves when particles need help.[1]
Do not improvise with bleach, household disinfectant, window cleaner, scented washing liquid, or an unknown record-cleaning concentrate. Different disc materials and labels have different chemical tolerances. If you cannot identify the carrier or the contaminant, stop after safe isolation and seek advice.
A normal record-cleaning machine can be useful later, but do not put a sewage-contaminated or mouldy disc into the same machine used for the rest of your collection. That can spread contamination through brushes, tanks, tubing, and vacuum lips.
Dry discs vertically, slowly, and without heat
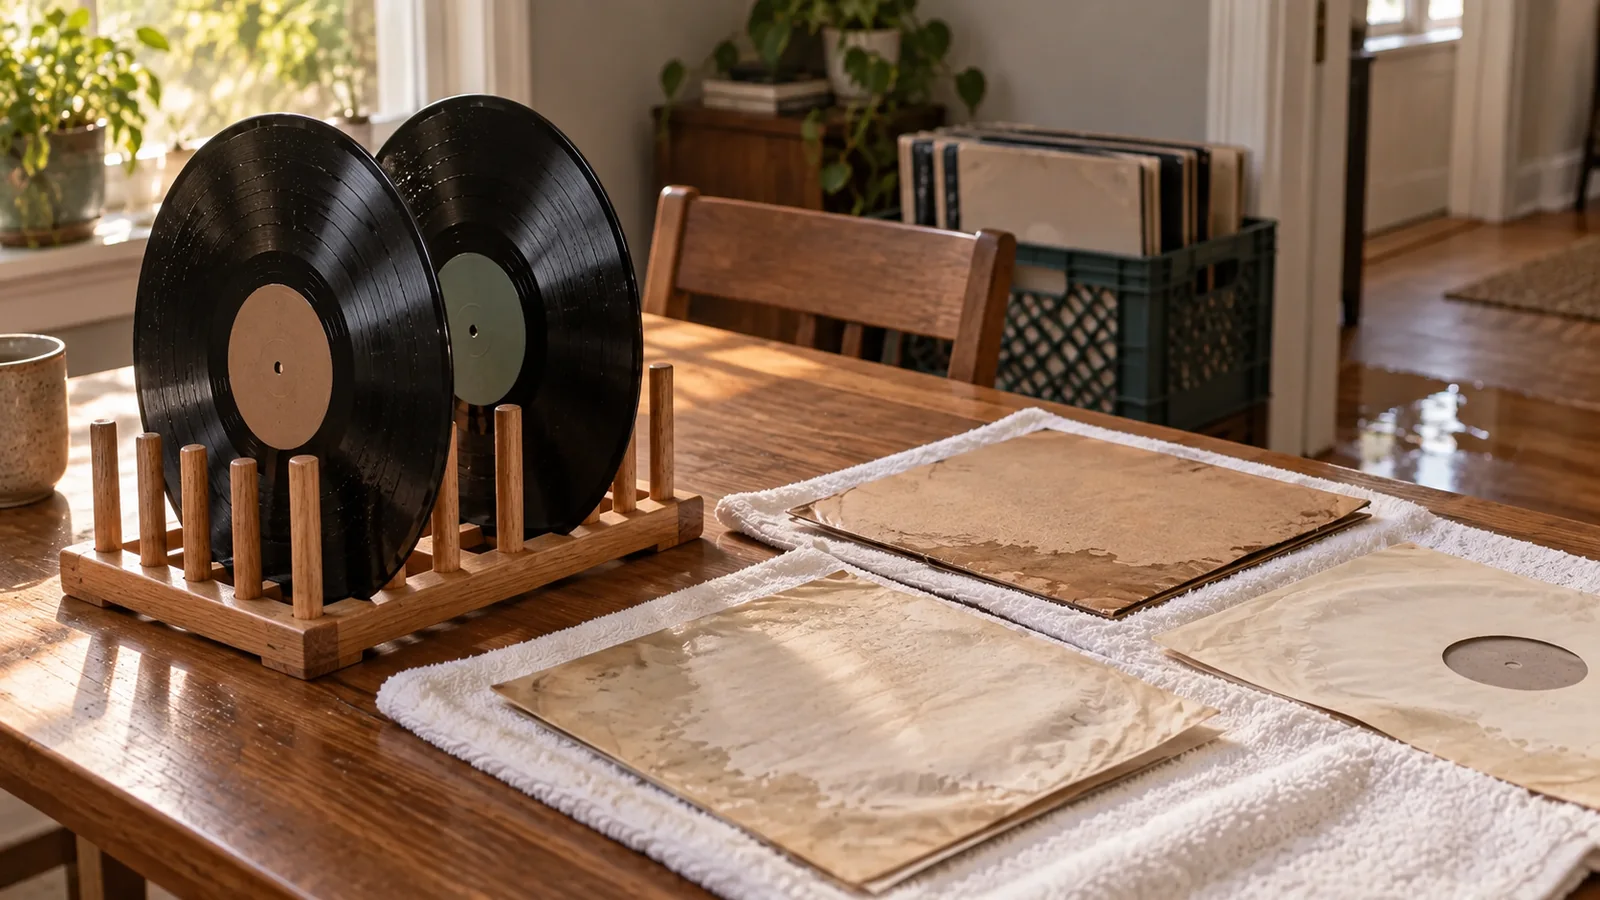
Blot clean vinyl with a soft, lint-free cloth, following the direction of the grooves. Do not scrub across them. Stand each disc vertically in a clean rack that supports it without touching the groove area. Leave space between records so air can circulate.
The National Archives says phonographic discs should be wiped with a clean non-abrasive cloth or air-dried vertically, slowly, at room temperature, away from heat and dust. Its emergency guidance sets a priority of cleaning and air-drying discs within 48 hours.[1]
Use fans to circulate air around the room, not to blast one wet sleeve or record. Keep the space cool and reduce humidity with air conditioning or a dehumidifier if it is safe to do so. The Library of Congress recommends a cool room below 65°F, about 18°C, and relative humidity below 60% when possible to reduce mould risk.[3]
Skip hairdryers, radiators, ovens, direct sun, and heated record-flattening devices. Fast heat can warp a disc that survived the water. Do not stack wet records flat under books. Weight traps moisture and presses grit into the surfaces.
Treat jackets and inner sleeves as a separate job
Lay damp jackets, inserts, and paper sleeves flat on clean, unprinted absorbent material. Change the towels or blotting paper as they become wet. Open gatefolds enough for air to reach the inside, but do not force swollen seams apart.
Paper becomes weak when wet. Glossy coatings and printed layers can stick to whatever touches them, including the opposite side of the jacket. If artwork is lifting, ink is running, pages are stuck, or the packaging is valuable, stop handling it and call a paper conservator.
For a small leak, patient air drying is usually manageable. A roomful of saturated jackets is a recovery project. Institutions use freezing and commercial drying to buy time for large paper collections, but freezing phonographic discs is not a casual home method. The National Archives says freezing discs is untested and notes that records may shatter at low temperatures.[1] Ask a conservator or recovery company to plan large-scale treatment.
Throw away a wet disposable inner sleeve once the disc is identified and stable. Replace it only after the record is fully clean and dry. Keep an original printed inner sleeve as part of the release, but store the playing disc in a new suitable sleeve if the original remains rough, stained, or unstable.
Do not play a record to test whether it is dry
A record that looks dry may still carry dirt, mould residue, or moisture around the label. The National Archives says not to play contaminated audio items.[1] Playback is the last check, not the first rescue step.
Before the stylus touches it:
- confirm that the disc and label are completely dry
- inspect both sides under good light
- check that no paper is stuck to the grooves
- clean the stylus separately before and after the first test
- use an ordinary, replaceable record first to check that your cleaning process worked
Keep any affected record away from the main shelves until the jacket, inner sleeve, and disc have all dried and no musty smell or visible growth remains. The Canadian Conservation Institute notes that high relative humidity raises mould risk for recording media, while dust and debris can cause playback trouble and physical damage.[5]
Record what happened
Once the immediate rush is over, add a short condition note for each important item. Record the date, water source, parts affected, cleaning method, visible staining, label damage, warping, and any replacement packaging. Keep the before-and-after photos with the claim or collection record.
Do not inflate the condition grade because the disc now plays. Water staining, sleeve rippling, split seams, label damage, and missing inserts still matter when you sell, insure, or replace a copy.
Then fix the shelf that made the loss worse. Keep records off the floor, avoid shelves directly below plumbing, use water alarms where leaks are plausible, and store an emergency kit nearby with gloves, clean towels, unprinted absorbent paper, a few plastic crates, and a waterproof marker for temporary labels.
A first-hour checklist
- Make the room safe and stop the water.
- Photograph the damage.
- Move dry records out of danger.
- Separate wet discs from jackets and inner sleeves.
- Isolate contaminated, mouldy, unfamiliar, and valuable items.
- Gently rinse dirty modern vinyl, then give it a distilled-water final rinse.
- Air-dry discs vertically at room temperature.
- Dry paper packaging separately on clean absorbent material.
- Keep fans indirect and humidity down.
- Do not play or reshelve anything until it is clean, dry, and stable.
The bottom line
A wet jacket needs speed, but not panic. Save people first. Stop the leak, document the scene, split plastic from paper, and dry modern vinyl vertically without heat.
The hard limit is contamination and scale. A clean-water leak affecting a few LPs is often a careful afternoon’s work. Sewage, active mould, unfamiliar disc materials, or dozens of saturated boxes need professional recovery. Knowing when to stop is part of saving the collection.
Sources
[1] https://www.archives.gov/files/preservation/records-emergency/pdf/phonographic-disks.pdf — Emergency Recovery and Response: Phonographic Discs [2] https://guides.loc.gov/wet-collections/Introduction — Salvaging Wet Collections: Introduction [3] https://guides.loc.gov/wet-collections/initial-response — Salvaging Wet Collections: Initial Response and Planning [4] https://iasa-web.org/tc05/31-waterhumidity — IASA: Water and Humidity [5] https://www.canada.ca/en/conservation-institute/services/preventive-conservation/guidelines-collections/caring-audio-video-data-recording-media.html — Canadian Conservation Institute: Caring for Audio, Video and Data Recording Media