A turntable can sit neatly on a cabinet and still lean slightly to one side. I would check that before adjusting the cartridge or deciding that a newly installed deck needs an accessory. Looking straight at the front edge is not a measurement.
What Hi-Fi’s November 12 turntable awards named seven winners across several price brackets.[1] If the awards or this month’s shopping offers have you setting up a new deck, leave a small spirit level beside the manual. The same check is worth doing after moving the turntable you already own. Here is how I would approach it without treating every foot or suspension as the same mechanism.
Start with the support, not the feet
First check the surface the turntable sits on. What Hi-Fi’s setup guide puts a level, rigid support ahead of the adjustments on the deck itself. It also separates that requirement from protection against vibration caused by speakers, footsteps, and other sources.[2] A centered bubble does not establish that a shelf is rigid or well isolated.
I would clear enough space to inspect the cabinet or stand before putting tools near the platter. If the furniture rocks, address that first. Extending one turntable foot to compensate for unstable furniture leaves the furniture unstable.
Check the support in both directions, front to back and side to side. Then put the turntable in its intended position and check the deck. A reading taken at the other end of a long shelf is not a substitute for checking where the turntable actually rests. Keep the level small and light, as What Hi-Fi recommends for the deck itself.[2]
Find the right place to measure
The plinth is the main base of the turntable. The platter is the rotating surface that supports the record. They are related, but instructions do not always name the same place for the level.
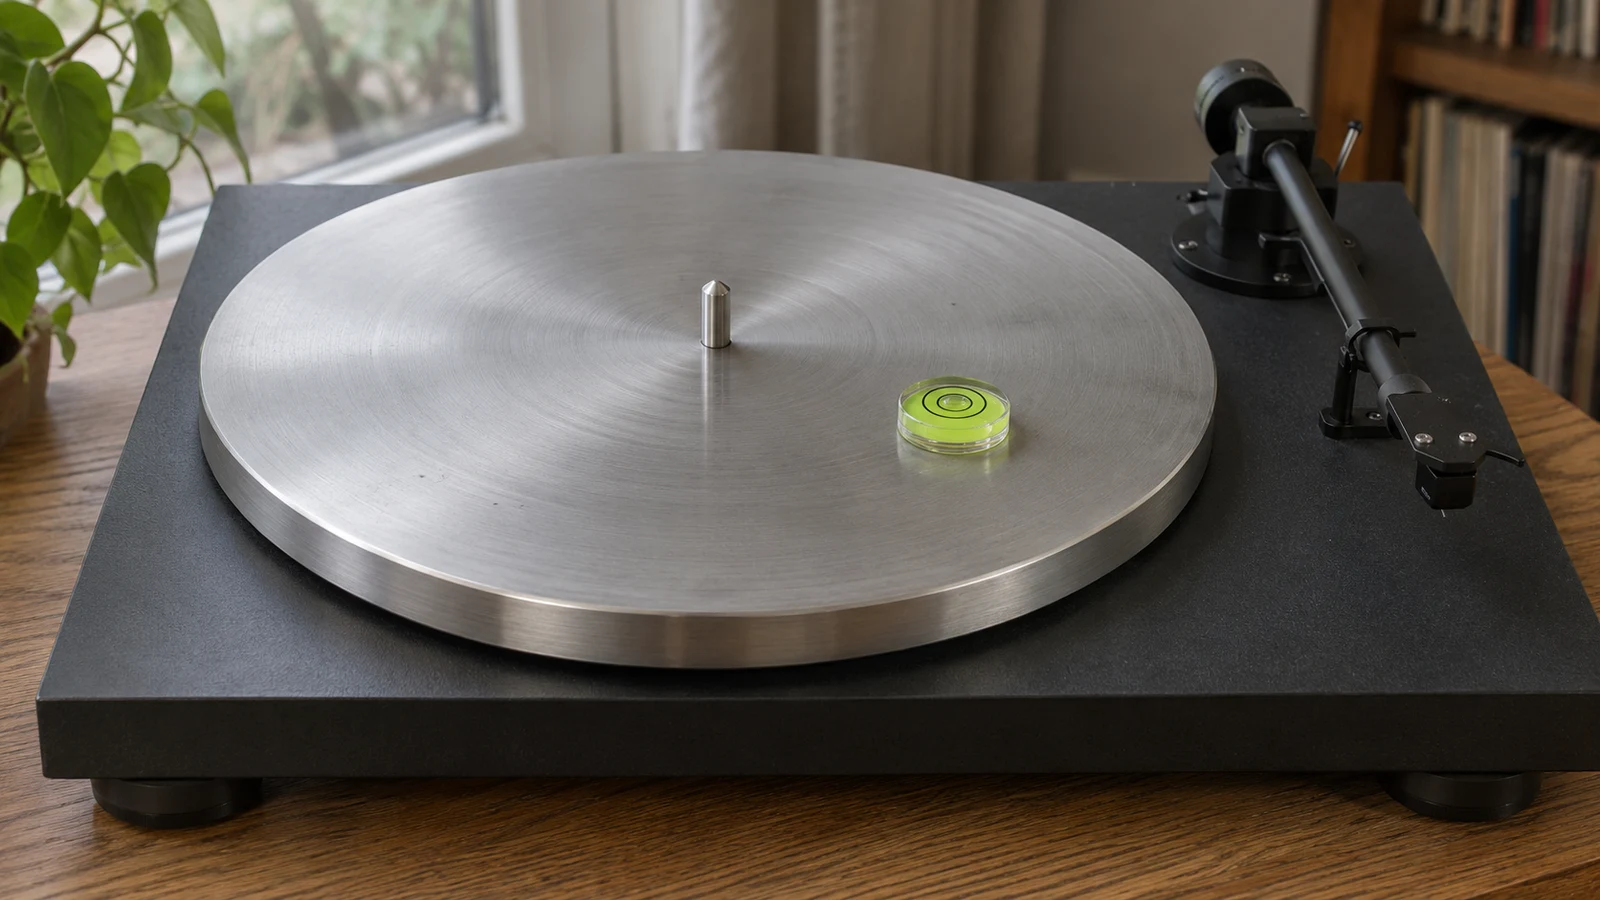
Fluance tells owners of its adjustable-foot models to place the supplied bubble level on the plinth.[3] Precision Record Pressing’s calibration guide describes a different check. Remove the mat and put the level directly on the platter, halfway between the spindle and the outer edge.[4] Those are specific instructions, not a reason to assume one measurement surface is correct for every design.
What Hi-Fi recommends checking the plinth and then the platter. On most decks, their relationship is fixed and they should be parallel. Suspended designs can allow further adjustment.[2] I would begin with the exact model’s instructions, then use the second reading as a check rather than immediately start altering a suspension.
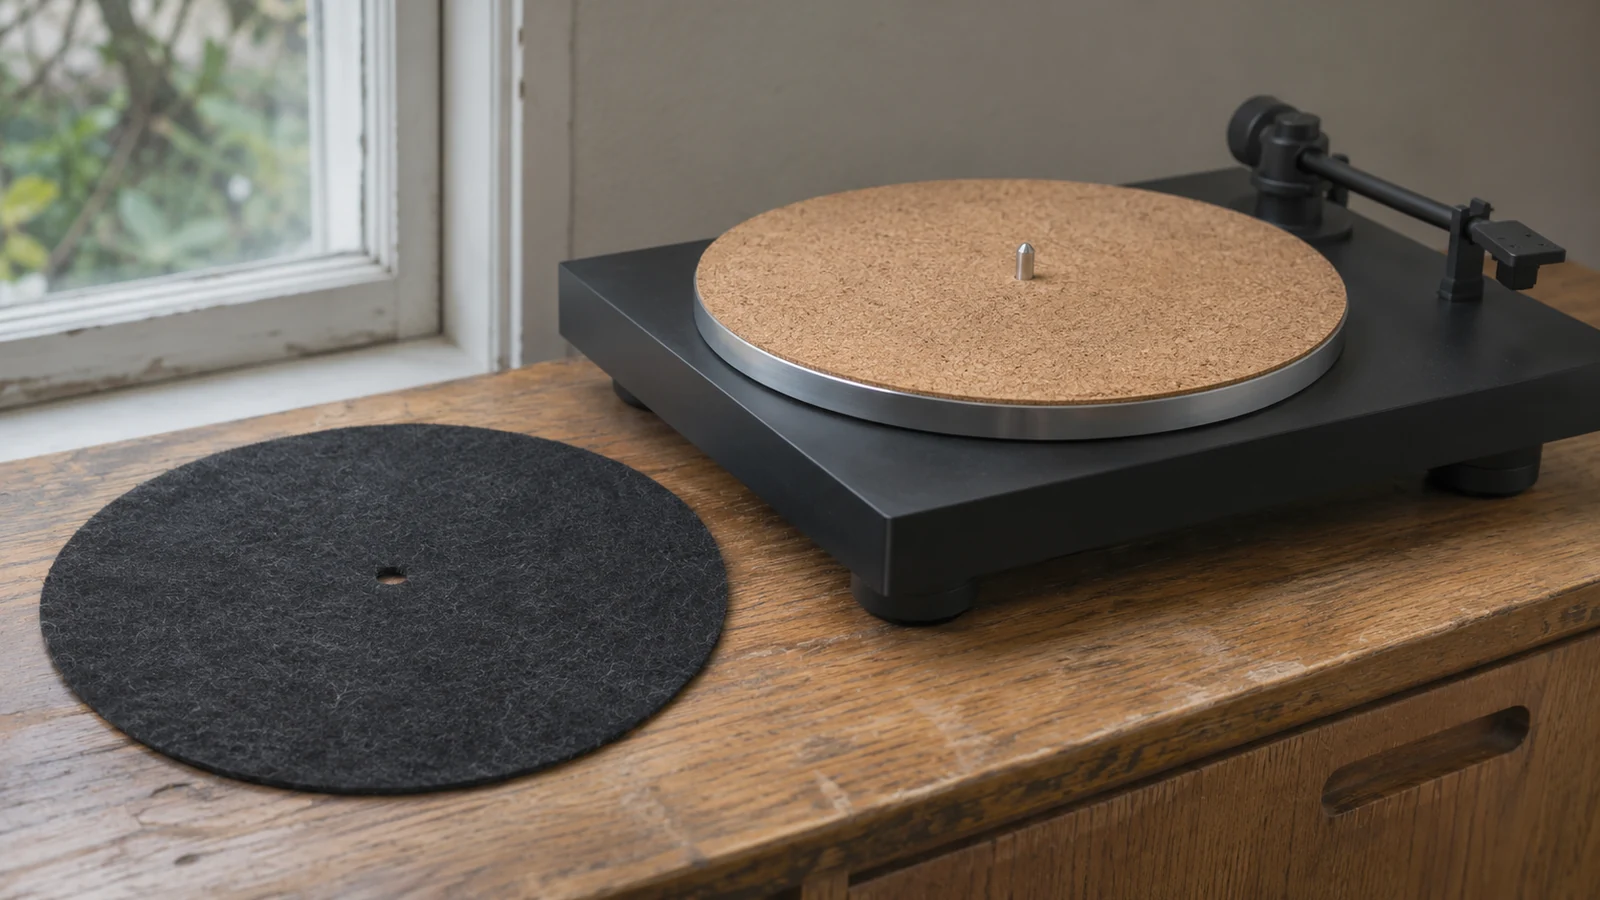
Make sure the tool rests flat. Do not balance a long level across the center spindle or take a reading on a record that might be warped. If the mat prevents the tool from sitting as the instructions require, follow the maker’s procedure for removing it. Do not change mat thickness as a way to correct a leaning turntable.
Work through one leveling check
This is the sequence I would use on a conventional deck with adjustable feet. A suspended turntable or a model with different instructions needs its own procedure. Keep the motor off while placing and removing the level.
- Remove the record and secure the tonearm in its rest. Fit the stylus guard if the cartridge permits it safely. Keep the level and your hands away from the cartridge.
- Check that every foot rests on the support. Read the manual to identify which parts adjust and whether the maker gives a limit to their travel.
- Place the small level on the specified surface. With a straight spirit level, take front-to-back and side-to-side readings. Precision Record Pressing explicitly calls for checking both axes.[4]
- Adjust one foot in a small step, following the manual. Audio-Technica’s AT-LPW50BT instructions say to support the weight of the corner while adjusting its threaded foot.[5] Use that method only where it fits your deck’s instructions and you can support it safely.
- Set the deck down fully and read the level again. Recheck both directions after each change instead of assuming the other reading stayed correct.
- Remove the tool, restore any mat you removed, and confirm the turntable is stable before preparing it for playback. Do not leave the level on the platter when starting a record.
Watch the adjustment limit, not just the bubble. The Technics SL-1200GR and SL-1210GR manual warns that turning the insulators too far can detach or damage them.[6] If centering the level requires excessive extension, stop and correct the support rather than keep unscrewing.
Don’t force fixed feet or a suspension
A foot that looks round is not necessarily a threaded height adjuster. Fluance distinguishes the fixed feet on the RT80 and RT81 from the adjustable feet on other models. For larger corrections on its fixed-foot decks, it points to isolation pads or a platform with adjustable feet.[3] Check the model name before applying advice from a similar-looking turntable.
I would favor correcting the stand or using a suitable adjustable platform over building a loose stack under one corner. Whatever support you use, each foot needs a stable contact point. An improvised solution that slips when you open the dust cover has not finished the job.
A suspended deck needs another distinction. Leveling its outer base does not necessarily complete the adjustment of the suspended assembly. What Hi-Fi notes that some turntables require a specific jig and dealer attention.[2] If your manual describes suspension setup, follow that sequence. Do not turn an accessible spring nut merely because a general guide says to adjust the feet.
Keep cartridge adjustments separate
Leveling establishes the deck’s horizontal position. It does not set tracking force, align a cartridge, or prove that anti-skate is correct. Audio-Technica’s setup instructions treat leveling, arm balance, tracking force, and anti-skate as separate stages.[5] Finishing the first stage does not excuse skipping the others.
I would complete the level check before checking those settings against the cartridge and turntable instructions. Do not copy another model’s tracking-force number because its setup photographs look familiar. Nor would I change anti-skate simply to counter an obvious lean in the cabinet.
Tonearm height is a separate question too. A level platter can still have an arm whose height needs checking after a mat change. The Journal’s guide to turntable mat thickness and arm height explains that relationship. Tilting the entire deck is not a substitute for the arm-height procedure in its manual.
Stop when the reading is repeatable
Before putting the level away, I would take the two readings once more with the deck resting on all its feet. Then remove the tool and check that nothing rocks. Write down any unusual platform or foot arrangement so you can reproduce it after a move.
Recheck when you change the support or relocate the turntable. There is no need to claim a dramatic sound improvement to justify a basic setup check. You have established that the deck is level by the method its maker specifies, rather than by how straight the cabinet looks.
That is the useful next action before the first record goes on. Find the manual, measure both directions, and make only the adjustments your deck allows. Once the result is repeatable and the remaining setup checks are complete, put the tools away and choose a side to play.
Sources
[2] What Hi-Fi: How to set up a turntable and get the best sound, updated April 8, 2025
[3] Fluance: How do I level my turntable?
[4] Precision Record Pressing: Guide, how to calibrate your vinyl turntable, September 22, 2022
[5] Audio-Technica: How to set up the AT-LPW50BT turntable
[6] Technics: SL-1200GR and SL-1210GR operating instructions, installation on page 17