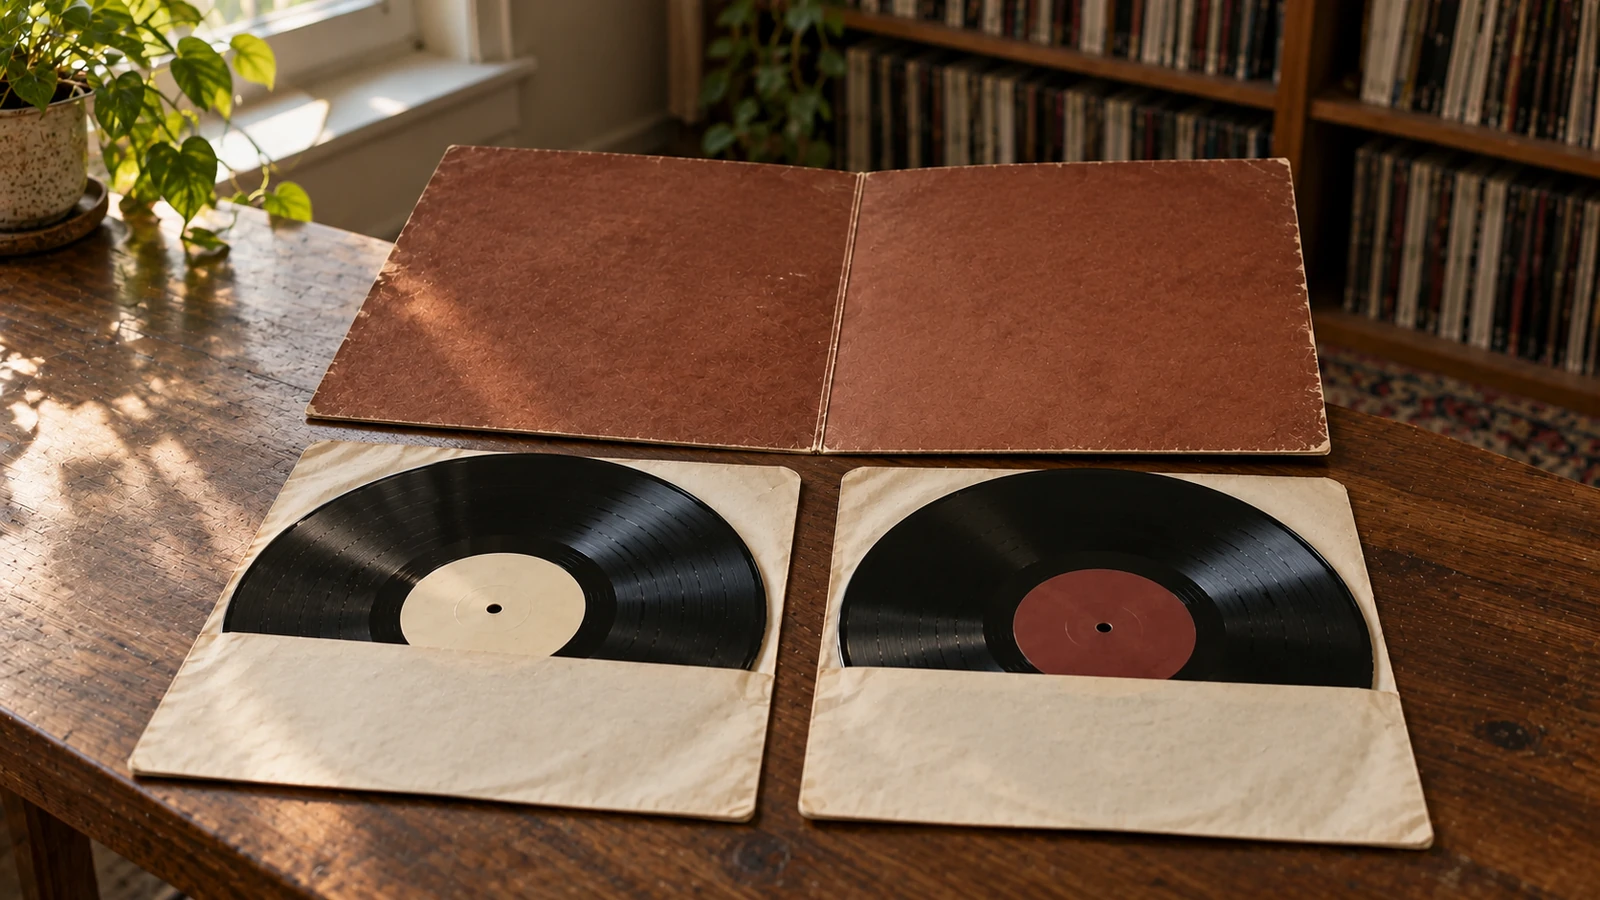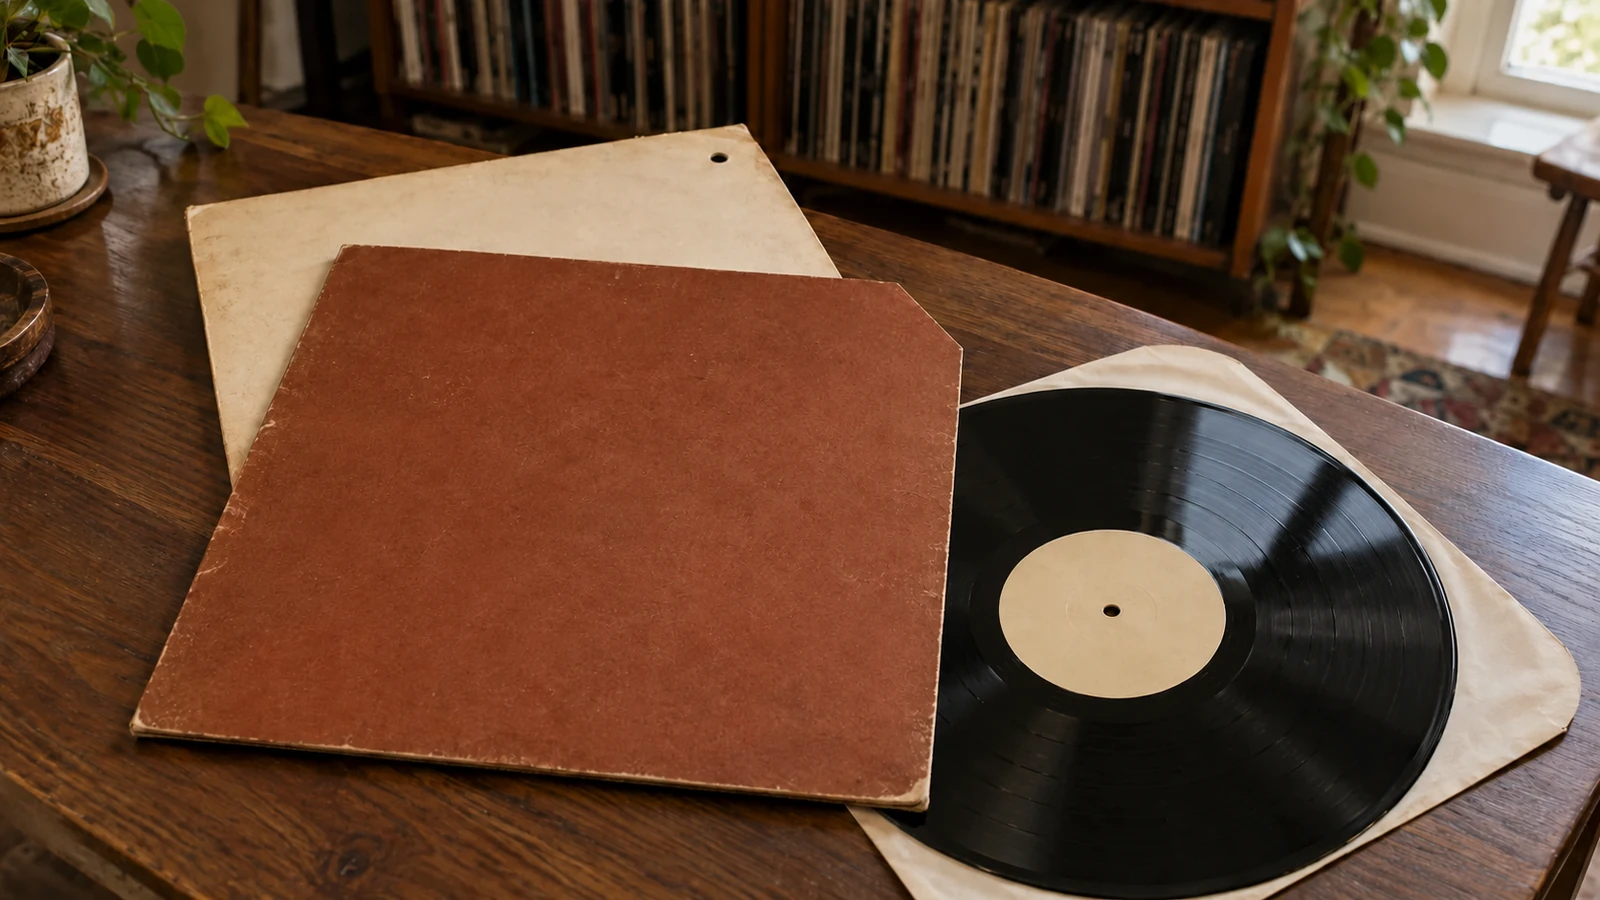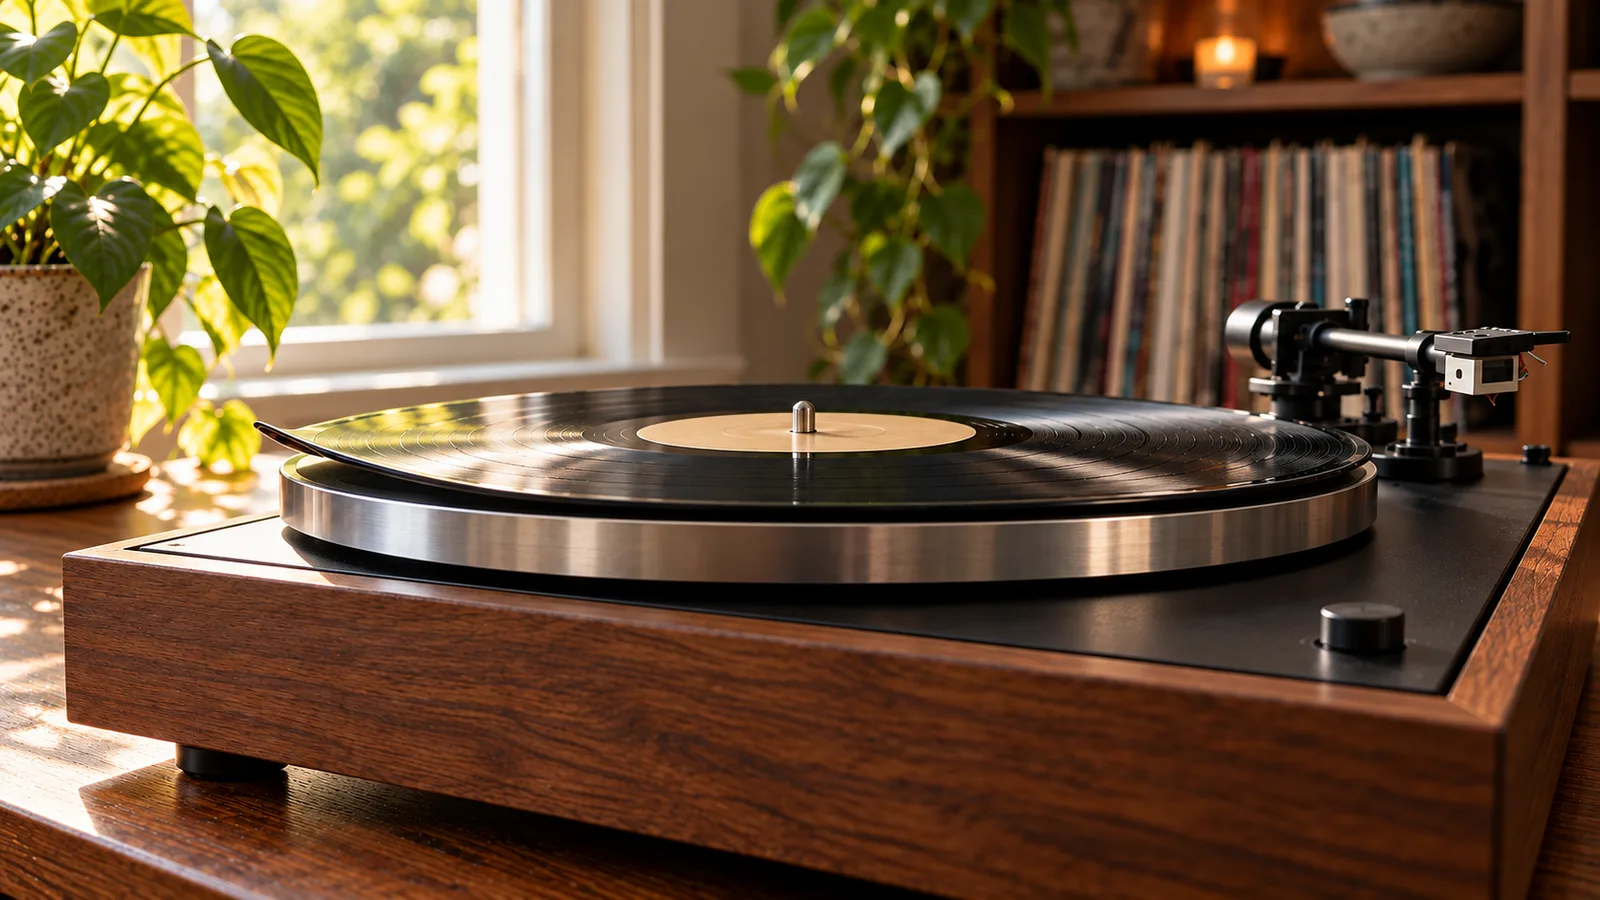
New vinyl should not go straight from the mailer to the shelf.
That sounds obvious until you look at the records waiting beside most turntables: pre-orders still sealed a month later, sale buys nobody has played yet, limited variants saved for “the right evening”, and replacement copies that never got checked properly.
The problem is not collector laziness. It is timing. Most faults are easiest to deal with while the shop, label, or marketplace order is still fresh. Wait too long and a simple replacement becomes an argument about storage, handling, and whether the record was like that when it arrived.
So give every new record a short arrival check. Not a forensic audit. Just enough to catch the problems that matter before the return window closes.
Start Before You Open It
Check the package first.
Look for:
- crushed corners
- bent mailer edges
- water marks
- split cardboard
- loose records moving inside the mailer
- shipping labels that show a long or strange route
If the package looks damaged, take photos before opening it. You do not need a studio setup. A clear phone photo of the outside, the inner packaging, and the affected corner is enough to show what happened.
Then check the order details against what arrived:
- title
- format
- color or variant
- disc count
- catalog number if listed
- signed insert, booklet, poster, or bonus item
- replacement or standard copy
Do this while the shop page and order confirmation are still easy to find. Product pages change, pre-order text disappears, and limited variants can become hard to prove later.
Inspect the Sleeve Like a Seller Would
Before you pull the record out, look at the sleeve.
Common sleeve problems include:
- corner dings
- seam splits
- spine crush
- ring wear from tight packing
- bent inserts
- split inner sleeves
- loose debris inside the jacket
- wrong hype sticker or missing numbered detail
Some tiny shelf wear is normal if you bought from a physical shop. A brand-new mail-order copy should still arrive in the condition you paid for. The important thing is to separate cosmetic disappointment from damage you would actually return.
For expensive records, limited editions, or gifts, photograph the sleeve before and after opening. If you later sell or insure the record, those photos also become useful condition history.
Check the Disc Under a Strong Light
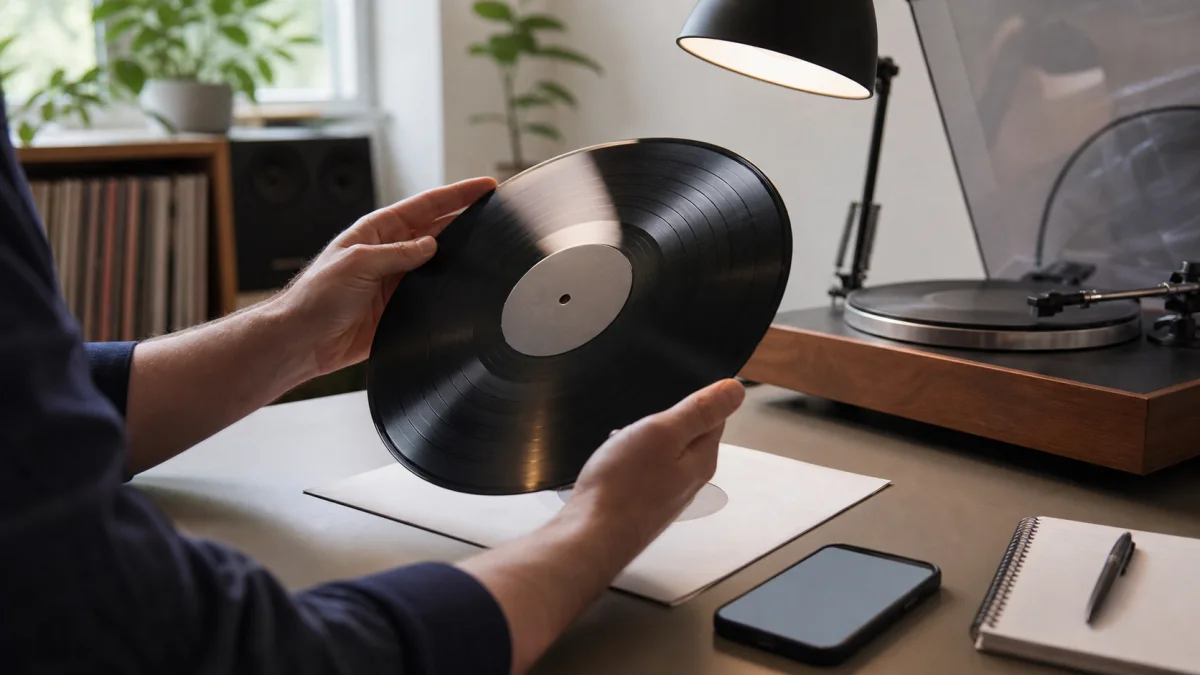
Hold the record by the edges and label. Tilt it under a desk lamp or bright window.
You are looking for obvious trouble:
- deep scratches
- cloudy scuffs from rough inner sleeves
- bubbles, dimples, or raised marks
- shiny or silvery patches in the grooves
- pieces of paper or grit pressed into the surface
- labels that are torn, bubbled, doubled, or badly off position
- a spindle hole that looks punched poorly
Do not panic over every hairline. New records can pick up light paper scuffs from the inner sleeve, and not every visible mark is audible. Pressing plants also have tolerances for small visual variations, especially on colored and special-effect vinyl.
The question is simple: does this look like a playable record, or does it look like a manufacturing or handling problem?
Know the Defects That Matter
A few pressing faults are worth learning because they change what you do next.
Warping means the record does not sit flat. A tiny edge lift may play fine. A bad warp can make the stylus bounce, mistrack, or skip. Check it on the platter from the side before you play it.
Dish warp means one side is concave and the other is convex. It may play differently depending on the side. A clamp or weight can sometimes help, but a severe dish on a new record is still a quality issue.
Off-center pressing means the spindle hole is not centered relative to the grooves. You will see the tonearm sway in and out during playback. You may hear pitch drift, especially on sustained piano, strings, synths, or vocals.
Non-fill or stitching often appears as silvery, pearly, or zipper-like marks in the grooves. It can produce tearing, ripping, or crunchy distortion. Pressing plant standards usually treat audible non-fill or stitching as a real defect.
Embedded debris is material pressed into the vinyl surface. If it creates a raised lump or repeating thud, it is not normal dust.
Excessive surface noise is harder because vinyl is not silent. The question is whether cleaning removes it and whether the noise is reasonable for a new copy.
When in doubt, compare both sides and more than one track. A problem that repeats in the same place every rotation is more likely to be in the record than in your setup.
Clean Once Before Judging Noise
New records are not always clean records.
Paper dust, factory residue, static, and sleeve debris can all make a new LP sound worse than it really is. Before you decide a copy is noisy, give it one sensible clean:
- remove loose dust with a carbon fiber brush
- use a wet clean if the record looks dirty or sounds staticky
- let it dry fully before playing
- move it into a clean anti-static inner sleeve if the original sleeve sheds paper
Do not use heroic cleaning as a way to rescue a faulty new record. One normal clean is fair. If a new copy still has loud repeating ticks, tearing distortion, or heavy noise after that, document it and contact the seller.
The goal is not to become difficult. The goal is to avoid returning a dusty record and also avoid keeping a bad pressing.
Play the First Copy Soon
If you bought the record to play, play it while you can still return it.
Prioritize:
- the opening minute of each side
- quiet passages
- sustained notes
- the track you bought the record for
- any place where you saw a visual mark
- the last track on each side
Listen for:
- repeating clicks in the same spot
- tearing or zipper-like distortion
- sudden thumps
- left-right channel dropouts
- skipping
- pitch wobble
- one side sounding much worse than the other
You do not need to sit with a clipboard for every new LP. But if the record was expensive, limited, imported, or already looks questionable, a quick play check is cheaper than regret.
Document Problems Before You Message the Seller
If something is wrong, collect the evidence before opening a support ticket.
Useful evidence includes:
- order number
- photos of the mailer
- photos of the sleeve damage
- photos or short video of the warp on the platter
- short video of tonearm sway for off-center copies
- timestamped note of the track and time where the fault occurs
- one sentence describing whether cleaning changed the issue
Keep the message calm and specific. “Side B has loud tearing distortion during track 2 after wet cleaning” is easier to act on than “this pressing is terrible.” If the problem is packaging damage, say that. If the issue is audio, say where it happens.
Discogs’ own support guidance on grading disputes points out a practical limit: staff cannot physically inspect the item after the fact. That is why clear photos, seller communication, and precise notes matter.
Decide: Keep, Replace, Return, or Note It
Not every flaw needs the same response.
Use this simple rule:
- Keep it if the issue is minor, non-audible, and you are happy with the copy.
- Replace it if the defect is likely isolated to your copy, such as shipping damage, a bad scratch, or a badly warped disc.
- Return it if the defect makes the record unpleasant to play and replacement copies are likely to have the same issue.
- Note it if you keep the record with a known flaw, discount, or replacement history.
Off-center pressings can be batch problems. So can repeated non-fill on a particular run. If buyers are reporting the same fault, a replacement may not solve it. In that case, a refund, later repress, or different edition may be the better answer.
This is where collection notes help. In My Vinyl+, add a quick note if your copy arrived warped, was replaced, had a noisy side, came with a damaged insert, or was accepted at a discount. Six months later, you will not remember which copy had the issue unless you write it down.
Build a 48-Hour New Vinyl Routine
You can make this easy.
When a new record arrives:
- Photograph damaged packaging before opening.
- Confirm the title, variant, disc count, and inserts.
- Check the sleeve and inner sleeves.
- Inspect the record under light.
- Clean once if needed.
- Play the key sections while the order is fresh.
- Save condition, replacement, and purchase notes in your collection.
That routine takes a few minutes for an ordinary record and longer only when something looks wrong.
It also changes how you buy. You stop treating new vinyl as automatically perfect, but you also stop treating every tiny imperfection as a disaster. You learn what is normal, what is annoying, and what deserves a return.
The Bottom Line
The best time to check a new record is before it becomes part of the furniture.
Inspect the package, check the sleeve, look at the disc under light, clean once before judging noise, and play the parts most likely to reveal a problem. If something is wrong, document it clearly and contact the seller while the order is still current.
Vinyl collecting is physical. That is the appeal, and also the risk. A small arrival routine protects your money, your shelf space, and the copy you actually meant to own.
Sources: Pirates Press: Vinyl Standards, Mobineko: Vinyl Quality Standards, Sound Matters: Watch Out for These Faults When Buying New Vinyl Records, Discogs: I Don’t Agree With The Grading Of An Item I Have Received, Canadian Conservation Institute: Caring for audio, video and data recording media.