Window light can make a dusty turntable lid look like a quick cleaning job. Then the fingerprints come off, but fine lines remain. Before reaching for a stronger cleaner, I would check whether those marks are dirt at all.
The Canadian Conservation Institute warns that household cleaners can scratch acrylic or cause crazing, the formation of fine surface cracks.[1] A transparent cover is not a window, and removing every visible mark is not a sensible target for routine care.
I would start with the lid’s material and its maker’s instructions. The aim is to remove loose dust and ordinary marks without adding damage, then leave scratches for a separate decision.
Identify the lid before choosing a cleaner
Do not assume every clear or smoked cover is acrylic. Rega identifies its replacement smoked lid’s material as GPPS. Rega says to use no cleaning fluids and only a clean damp cloth if necessary.[2] That is a reason to identify the actual lid, not choose a bottle by its promise to clean plastic.
Audio-Technica’s dust-cover guidance describes warm water and a soft sponge safe for acrylic, followed by blotting with a very soft microfiber towel.[3] Those directions do not cancel Rega’s restrictions. They describe a method for the covers addressed by Audio-Technica’s support page.
For a used turntable, check whether the cover is original. A replacement lid may not share the material or care requirements of the one described in the deck’s manual. If the material and supplier are unknown, ask the seller or manufacturer before applying a cleaner. I would rather leave a fingerprint temporarily than turn uncertainty into a permanent haze.
Move the work away from the cartridge
Audio-Technica says to remove the cover from the turntable before its wet-cleaning procedure.[3] Follow your model’s removal instructions rather than pull against unfamiliar hinges. A lid that will not release as described needs investigation, not more leverage.
Before handling it, stop the platter, remove the record, and secure the tonearm as its manual directs. Clear a separate working surface so you are not carrying a wet sponge over the cartridge or leaving a loose lid beside the arm. Put the cleaning materials within reach before lifting anything.
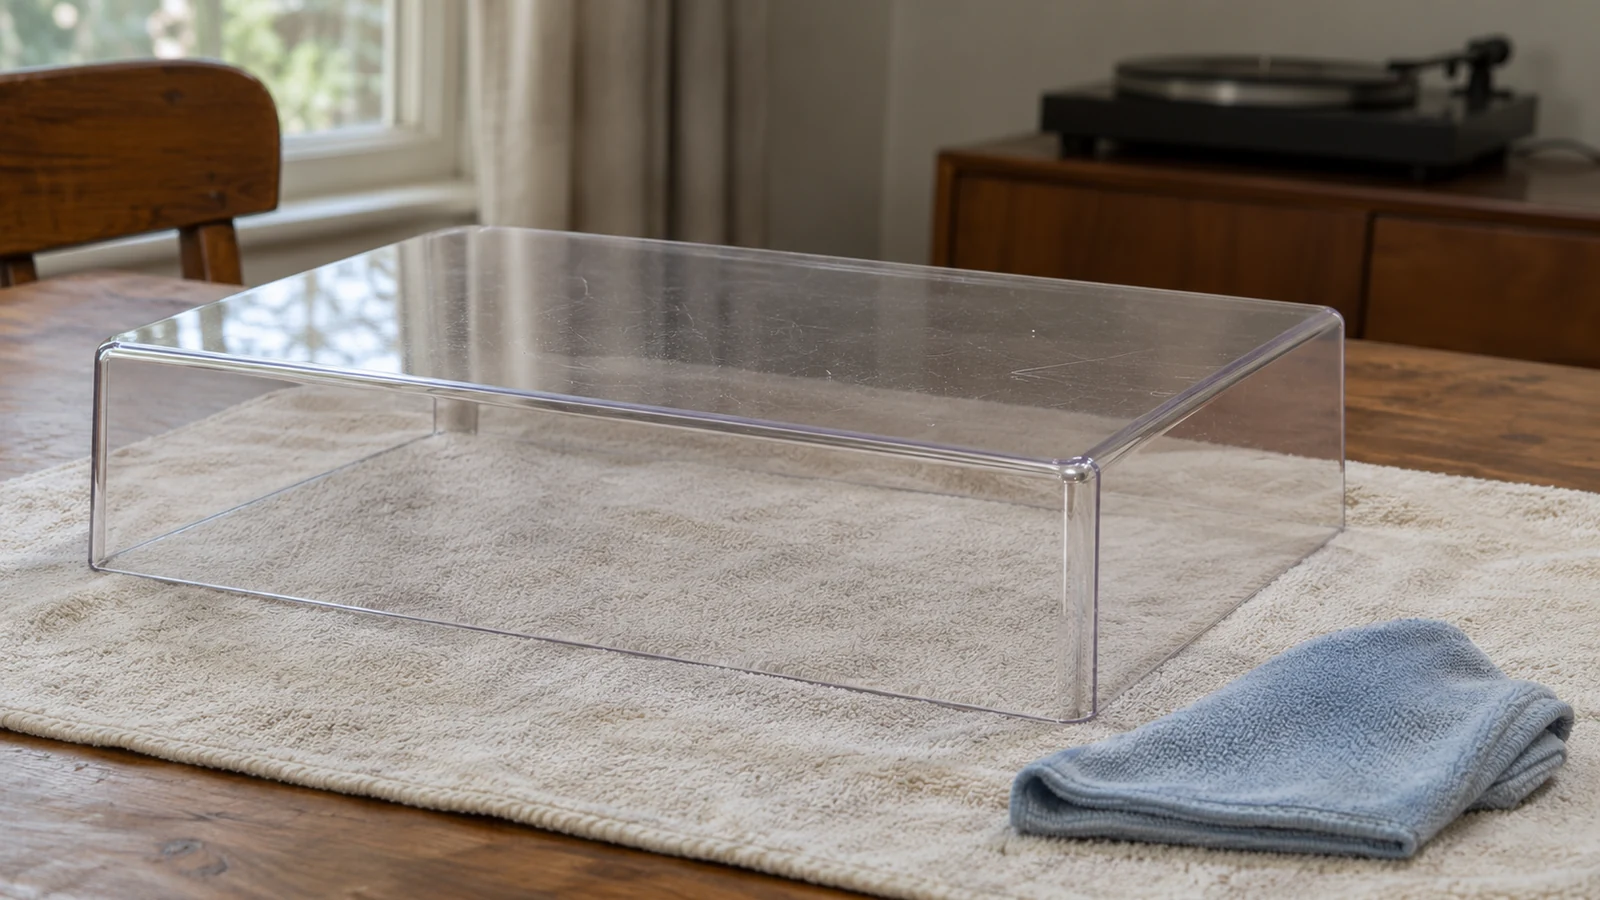
Support the cover from below and set it on a clean, soft surface. CCI’s broader plastics guidance recommends support from below, padded supports, and avoiding flexing. It also advises checking for cracks, particularly around joints.[4] Applied here, that means inspecting hinge areas before you try to remove or refit the cover.
If removal is not straightforward, do not improvise a wash with the lid still attached. Ask the manufacturer how to clean that assembly. Keeping water away from the deck matters more than finishing the job immediately.
Remove dust with the least contact
For loose surface dust, Audio-Technica recommends an air duster before considering wet cleaning.[3] Use any such tool according to its own safety instructions, with the cover away from the turntable. Do not treat that advice as permission to blow dust toward an exposed stylus or record.
If ordinary spots remain and your cover’s instructions allow Audio-Technica’s warm-water method, this is the sequence I would follow. It is not a universal recipe for unidentified plastic or a lid whose manufacturer prohibits it.
- Check the lid’s care instructions and inspect it for cracks. Stop if the material, removal method, or permitted cleaning method is unclear.
- Remove the cover as directed and place it on a clean, soft support away from the deck. Remove loose dust by the maker’s recommended method before touching the surface.
- For the Audio-Technica method, use warm water and a soft sponge specified as safe for acrylic. Do not substitute the scouring face of a kitchen sponge.[3]
- Treat the remaining spots gently. If a deposit resists the permitted method, stop rather than add pressure or switch to a household solvent.
- Blot dry with a very soft microfiber towel. Audio-Technica explicitly says to avoid wiping because it can scratch the surface.[3]
- Check that the cover and hinge areas are dry before refitting. Return it to the turntable using the model’s fitting instructions.
Blotting lifts moisture without dragging the towel across the lid. A cloth being soft does not make every motion safe.
Keep scratch removal separate from cleaning
A scratch that remains after cleaning is not proof that you used too little cleaner. CCI distinguishes ordinary acrylic cleaning from scratch removal. Its guidance says that very shallow scratches may respond to fine abrasives, but the work can be laborious and is limited to the finest scratches in small areas.[1]
That is restoration work, not the next automatic step in dusting. The same note recommends comparing the cost and labor of a scratch-removal kit with replacing the item.[1] I would make that comparison before buying polishing supplies, especially for a cover with widespread marks.
Audio-Technica names scratch-removal products in its own guidance and tells owners to follow their instructions carefully.[3] Rega’s smoked-lid page, by contrast, says not to use cleaning fluids.[2] A recommendation for one cover is not approval for another material.
I would leave fine cosmetic scratches alone until I had material-specific advice and a reason to take the risk. Do not start with automotive polish, sandpaper, or a power tool because a restoration video made the result look simple.
Stop if the plastic shows damage
Look for cracks near hinges, a network of fine lines, or a surface that snags the cleaning cloth. CCI explains that degraded plastics can become more fragile and more vulnerable to both mechanical cleaning and liquids.[4] Those signs call for assessment rather than a stronger cleaning mixture.
A cloudy area is not enough to identify the cause from across the room. CCI’s acrylic note specifically distinguishes solvent-related crazing from ordinary dirt.[1] Do not promise yourself that another pass will clear it, and do not use a hidden test patch to justify treating an already damaged lid.
Photograph the affected area and ask the lid supplier or a repair specialist about the material and condition. For a cracked hinge area, I would also ask whether the cover should remain in use. A cosmetic problem and a weakened mounting point need different decisions.
Put the cover back into a simple routine
Audio-Technica recommends using the cover when records are not playing to reduce dust reaching the platter and records.[3] That gives the lid a useful job even if it no longer looks new. This cleaning routine does not settle whether your particular turntable should play with its cover open, closed, or removed. Check its instructions separately.
Keep cartridge care separate too. The Journal’s guide to cleaning a turntable stylus safely explains why that small assembly needs its own tools and method. A cloth used on the lid has no place on the stylus.
Before the next cleaning, find the cover’s material and permitted method, then put that information with the turntable manual. Remove the dust you can address safely. If fine lines remain, stop there and decide about restoration another day.
Sources
[1] Canadian Conservation Institute: Cleaning glass and acrylic display cases, CCI Notes 1/2
[2] Rega: Turntable lid, smoked, material and care instructions
[3] Audio-Technica: How do I clean my turntable’s dust cover without scratching it?
[4] Canadian Conservation Institute: Caring for plastics and rubbers, handling and cleaning risks